|
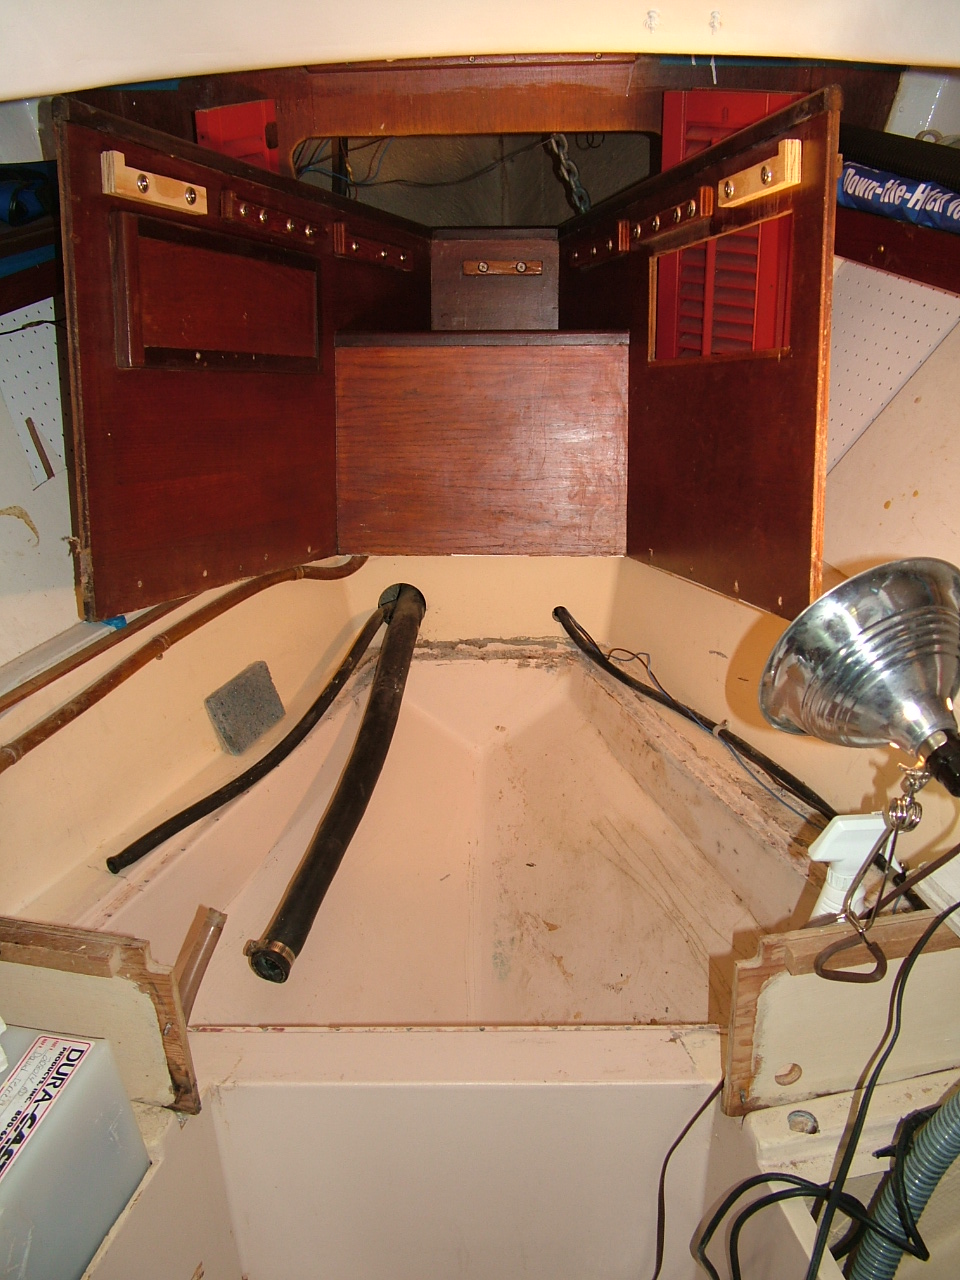
I repaired the water tank because it was leaking. I noticed that the wood furniture was damp and that the small cushion at the center of the v-berth was wet. Perusal of the maintenance manual and consultation our website convinced me that my problem was a leaky tank lid. In solving this problem, I followed the directions found in the maintenance manual. The photos provided here are designed to illustrate the process I followed.
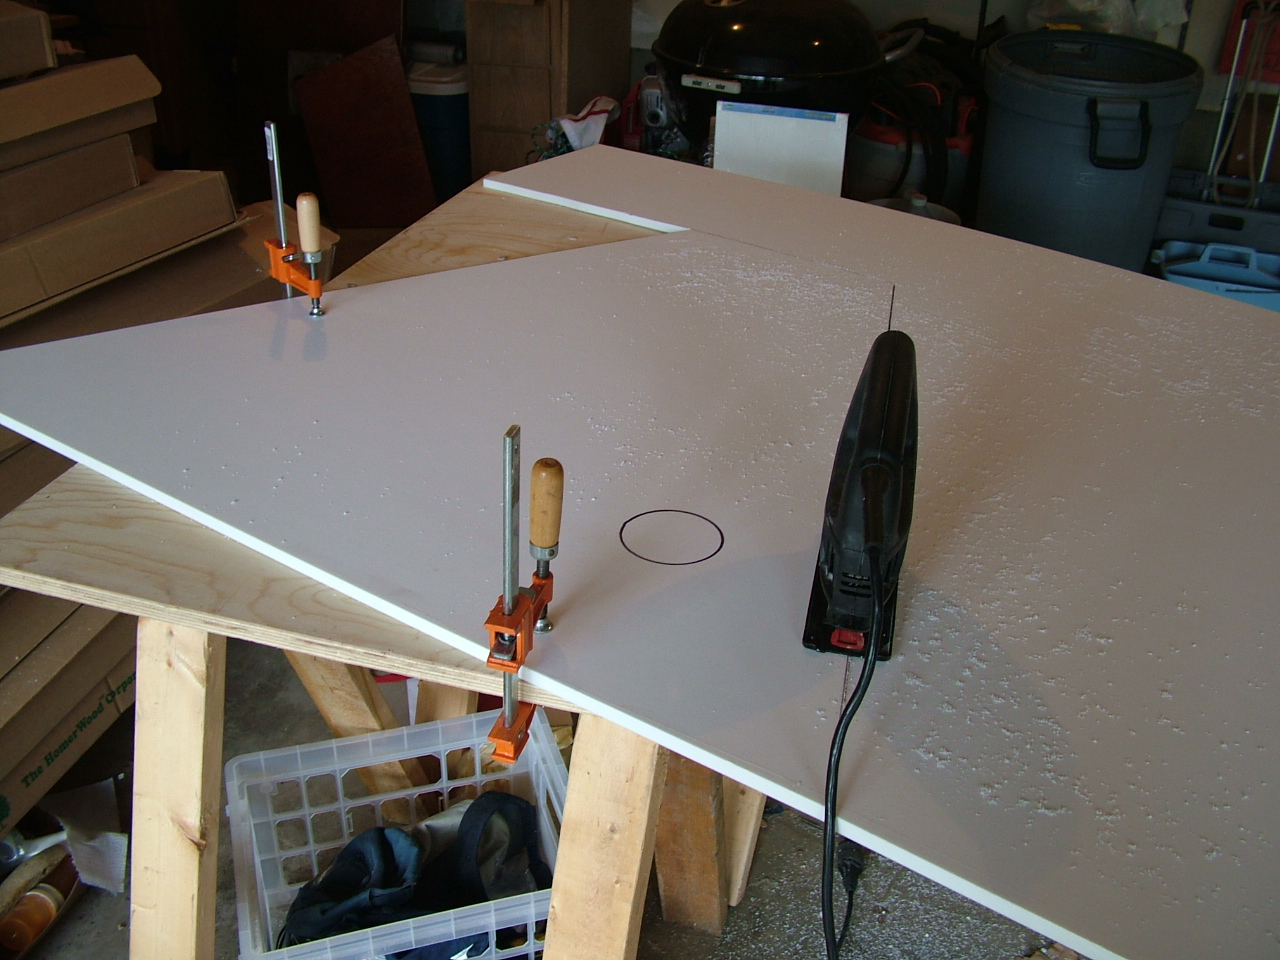
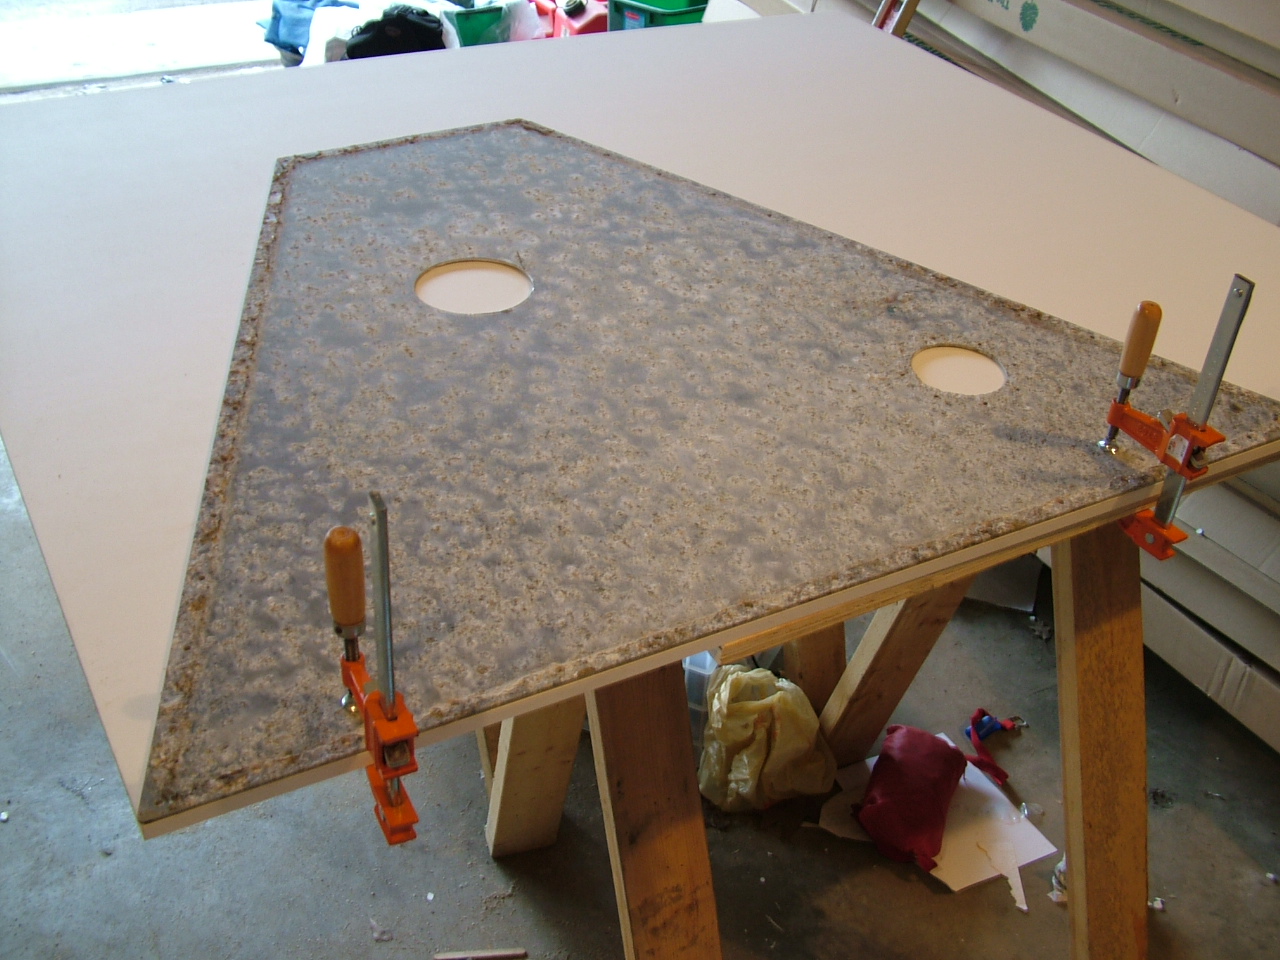
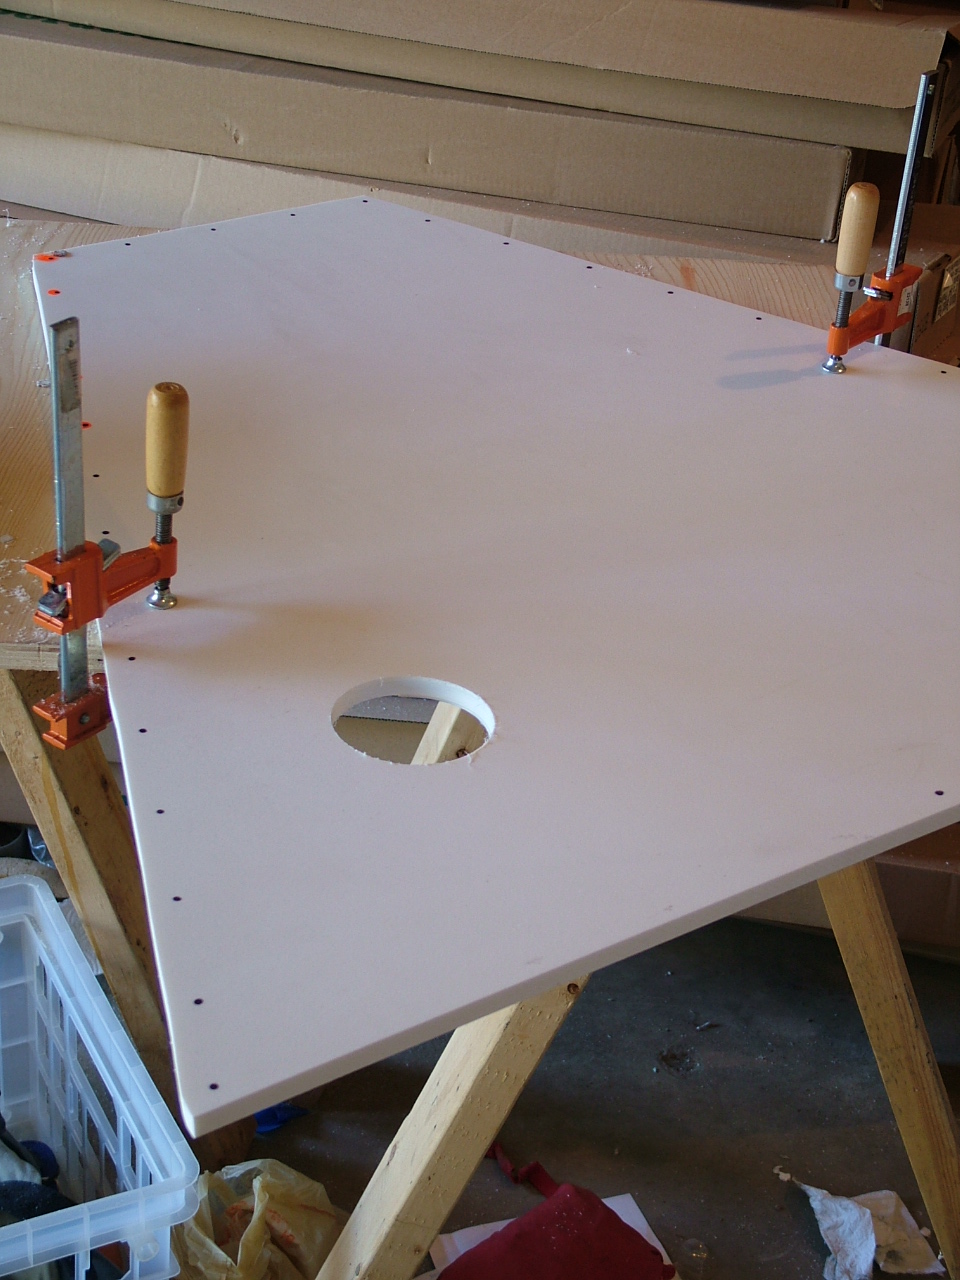
Next, I removed the aluminum top of the water tank and used it as a pattern for creating a new cover made of starboard.
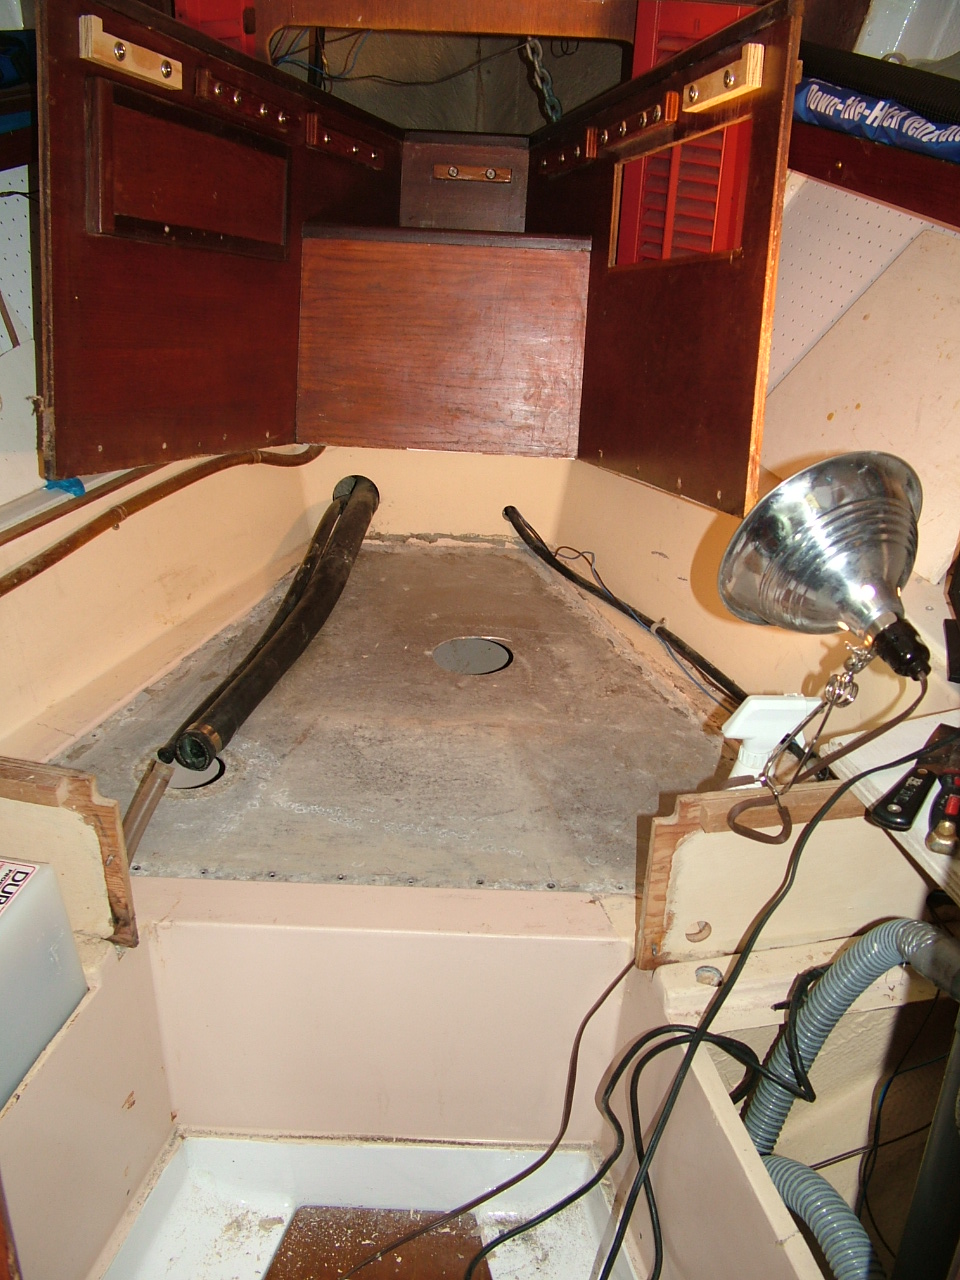
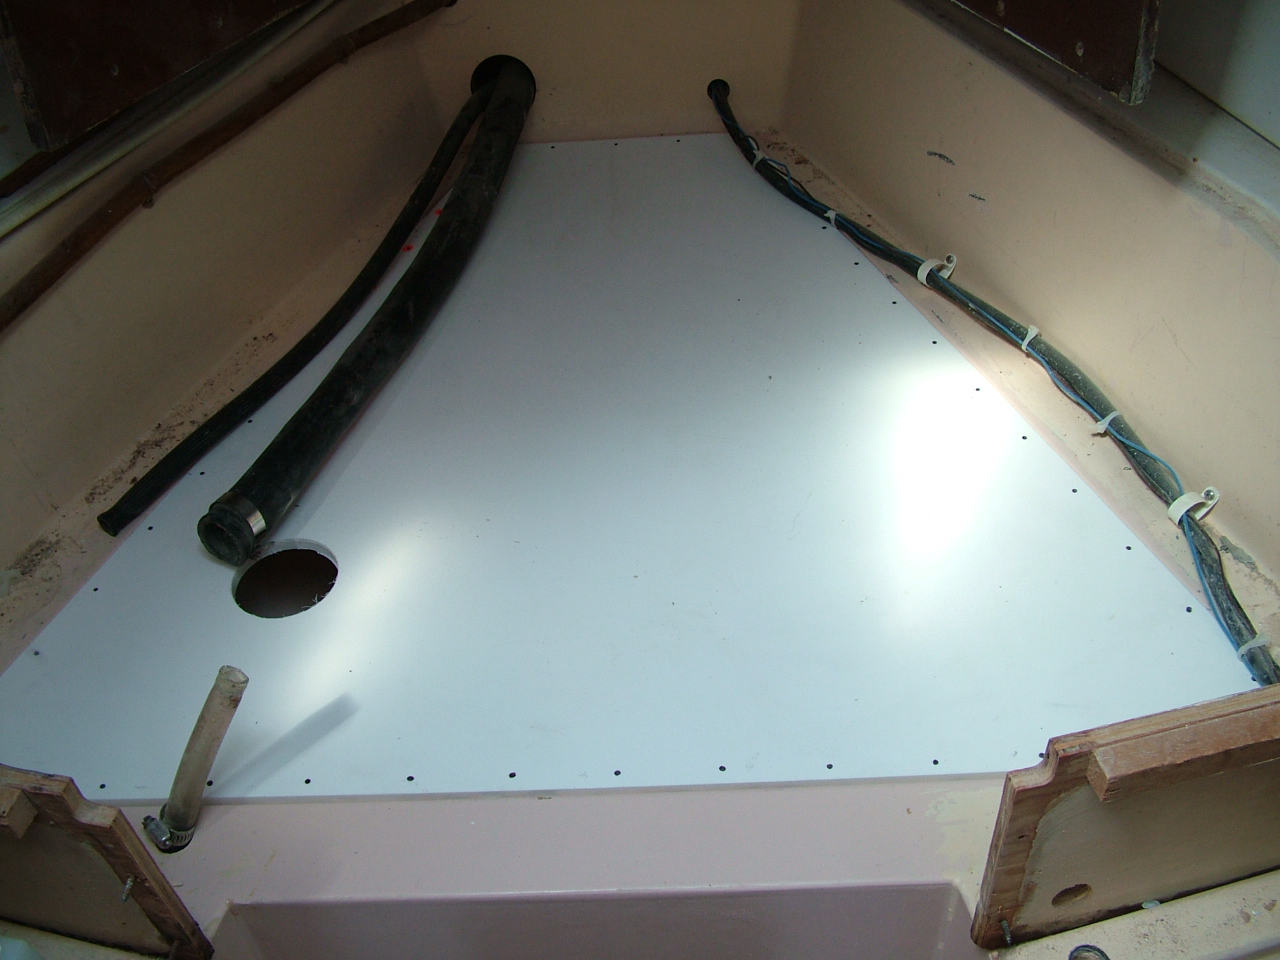
Before I could attach the cover I throughly cleaned the walls of the water tank, and sealed the stress cracks with two coats of epoxy. I used epoxy because information I found on the internet and our site indicated that chemicals leaching into the water would not likely occur. In addition, we use the water for washing, not drinking.
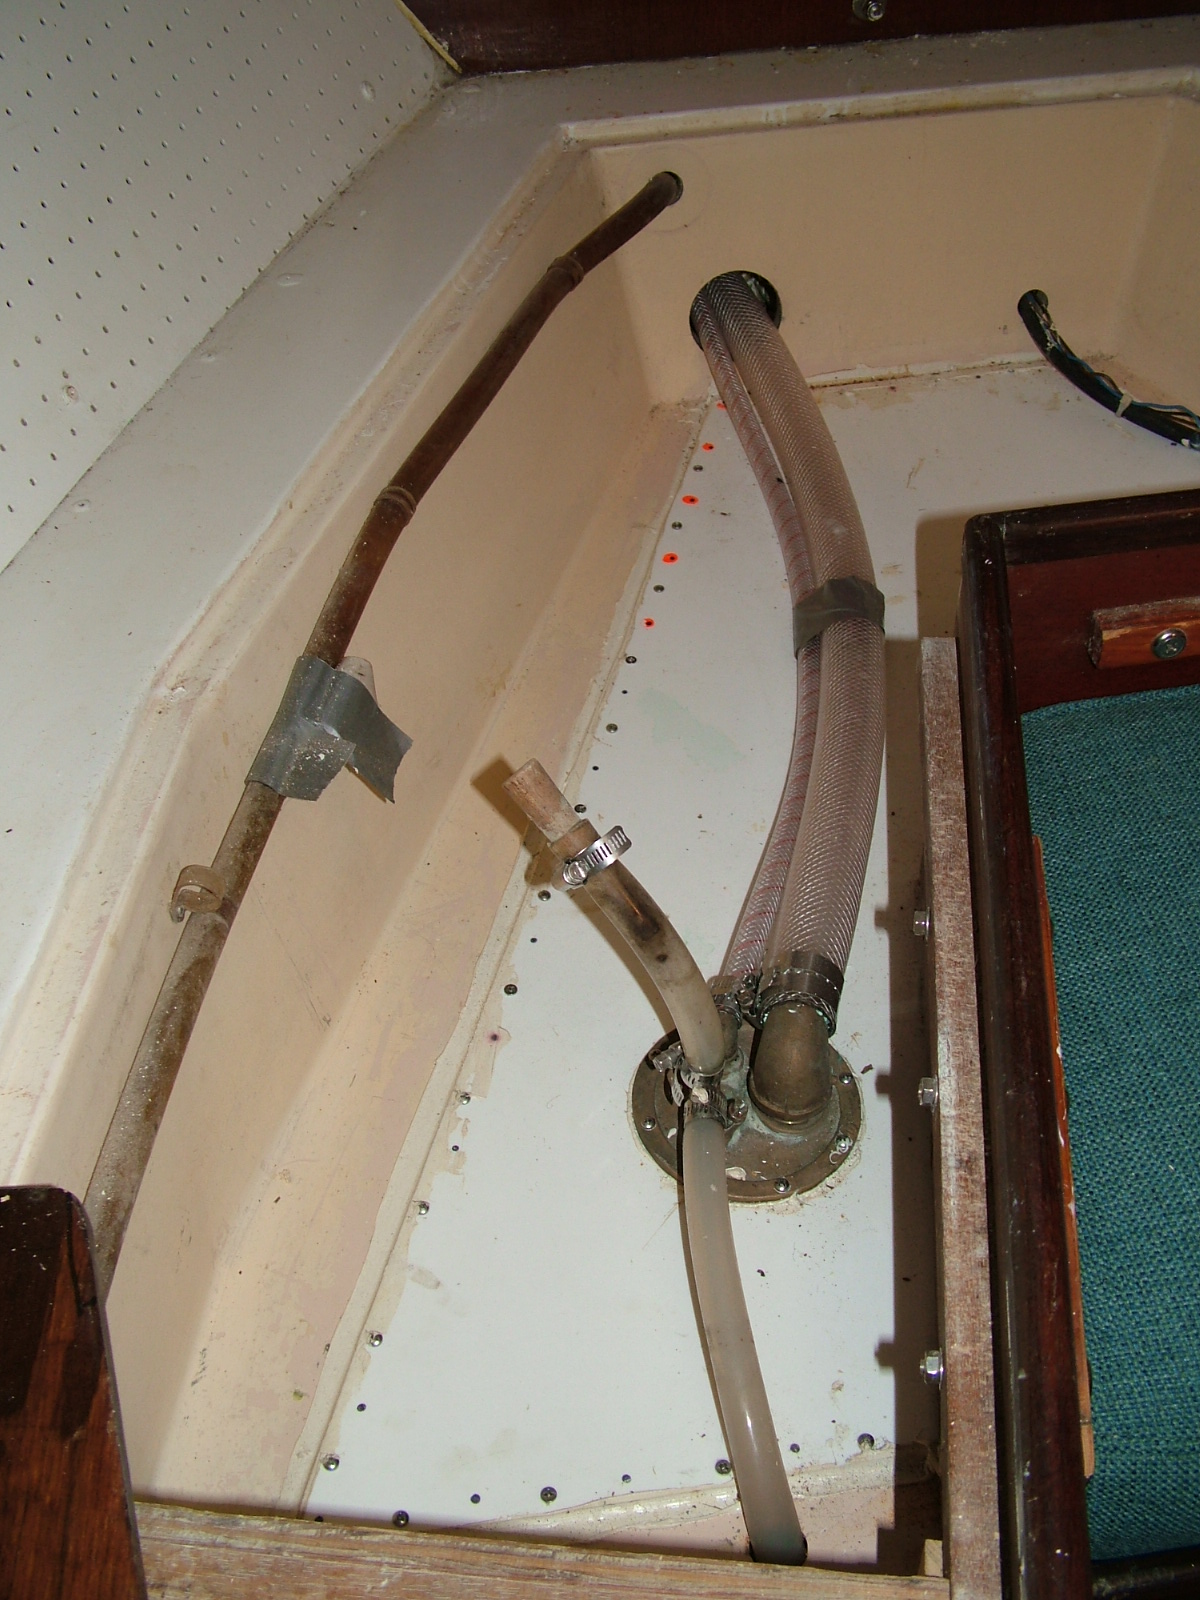
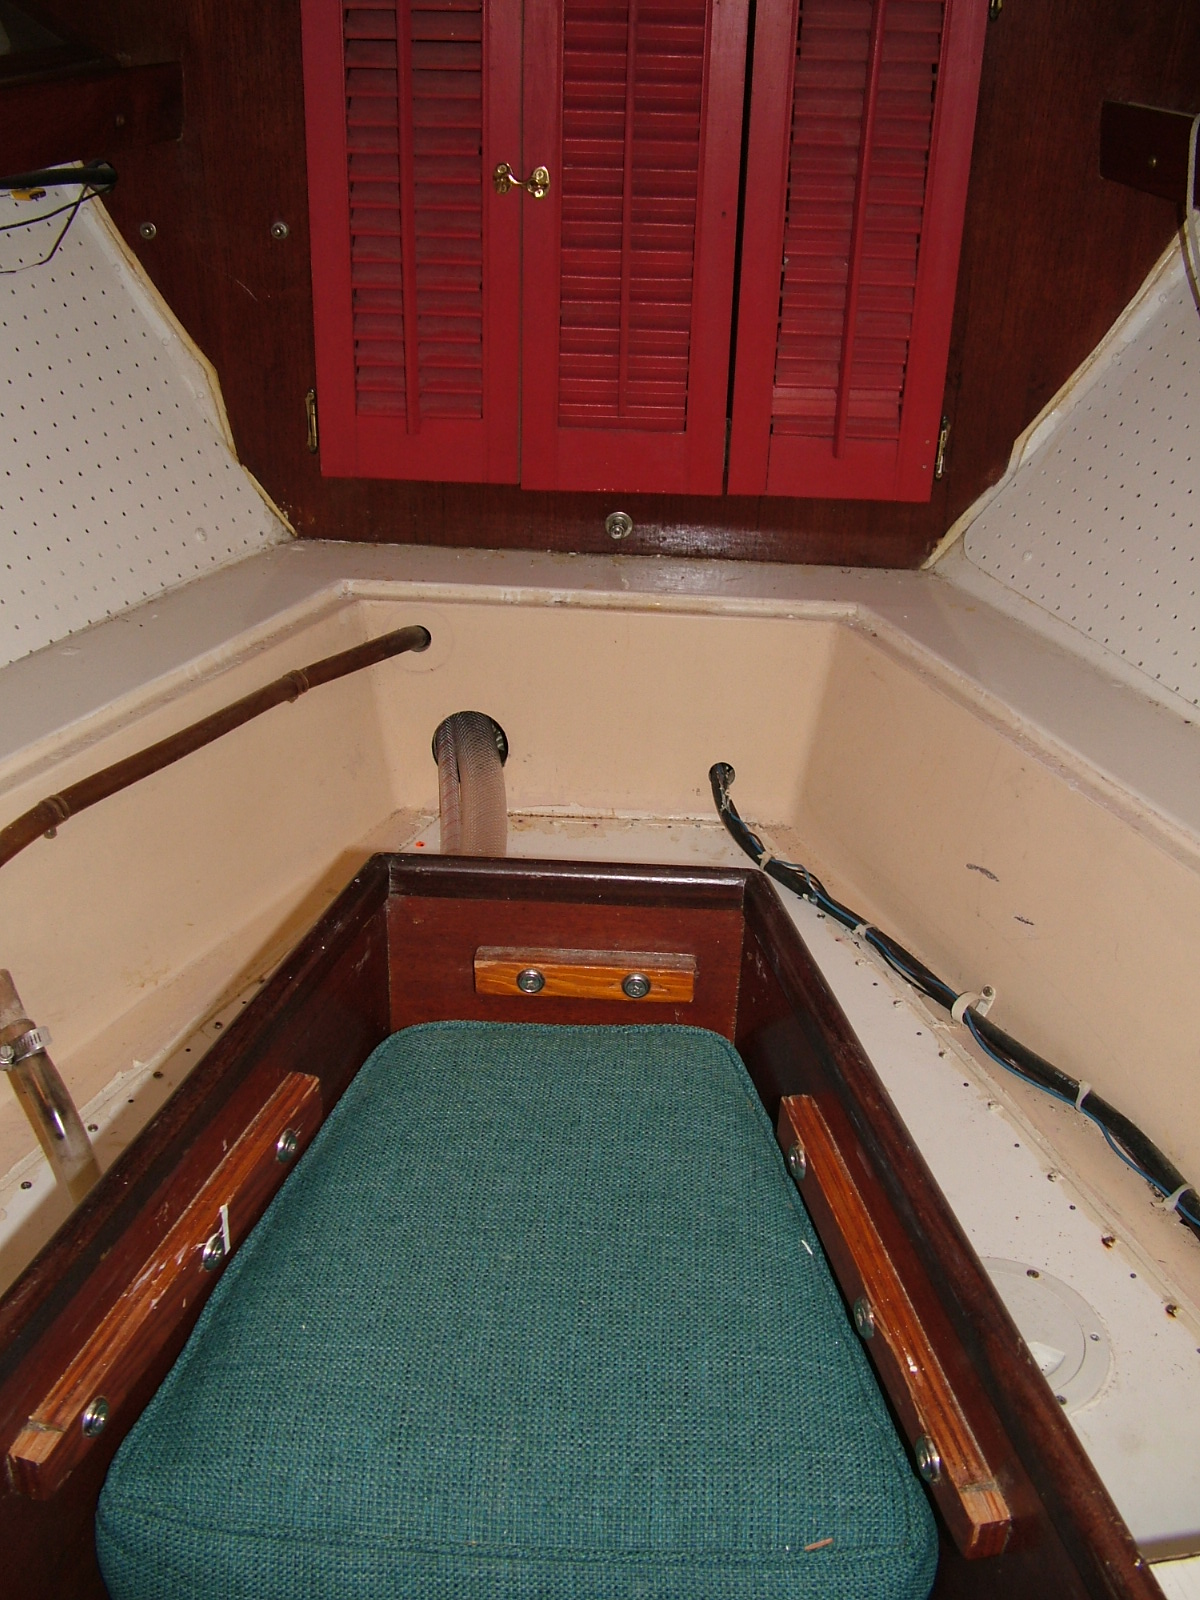
Now the tank does not leak and it can be inspected as well. I found that it was easier to fill the tank via the inspection port than from the deck. Previously, the tank tended to get over full and fill up the bilge as well. Now I fill the tank to just about full and no longer have this problem. The project took time but was not difficult. It was within my skills set and mostly required some thinking and a fair amount of persistence. Note: Dave sent more photos than are used to illustrate the article above. These alternate views might be useful for seeing details more clearly. Please support these businesses that support the Alberg 30 Association: 


|
|