|
I repaired the water tank because it was leaking.
I noticed that the wood furniture was damp and that the small cushion at the center of the v-berth was wet.
Perusal of the maintenance manual and consultation our website convinced me that my problem was a leaky tank lid.
In solving this problem, I followed the directions found in the maintenance manual.
The photos provided here are designed to illustrate the process I followed.

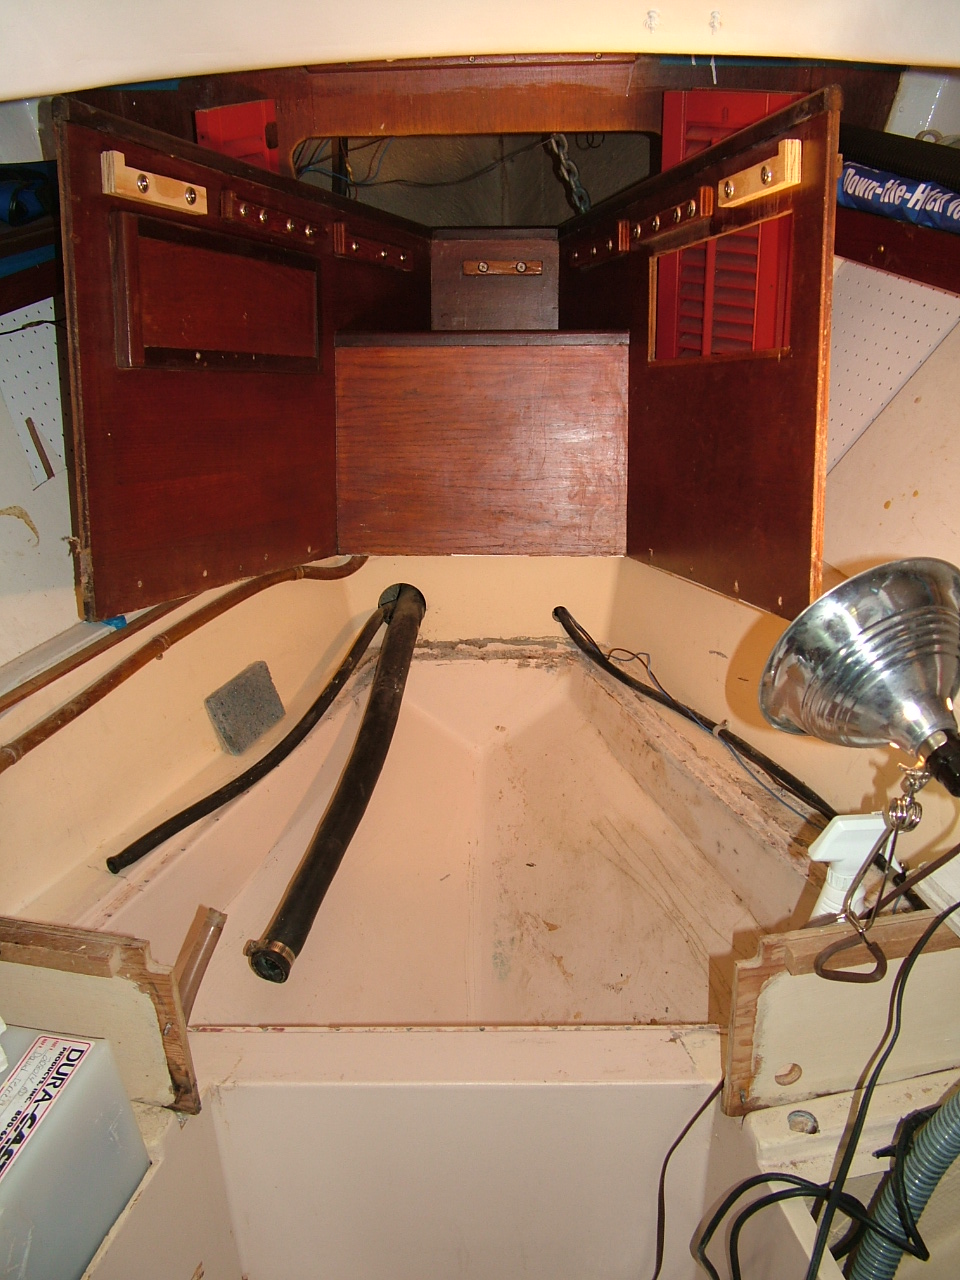
 I began by detaching the wood in the v-berth.
I removed the bungs and unscrewed the fasteners.
This was a little harder on the port side because of the presence of the holding tank.
Once the wood unit was detached, I raised it up and placed it far enough into the anchor locker so that it would not fall out.
I began by detaching the wood in the v-berth.
I removed the bungs and unscrewed the fasteners.
This was a little harder on the port side because of the presence of the holding tank.
Once the wood unit was detached, I raised it up and placed it far enough into the anchor locker so that it would not fall out.
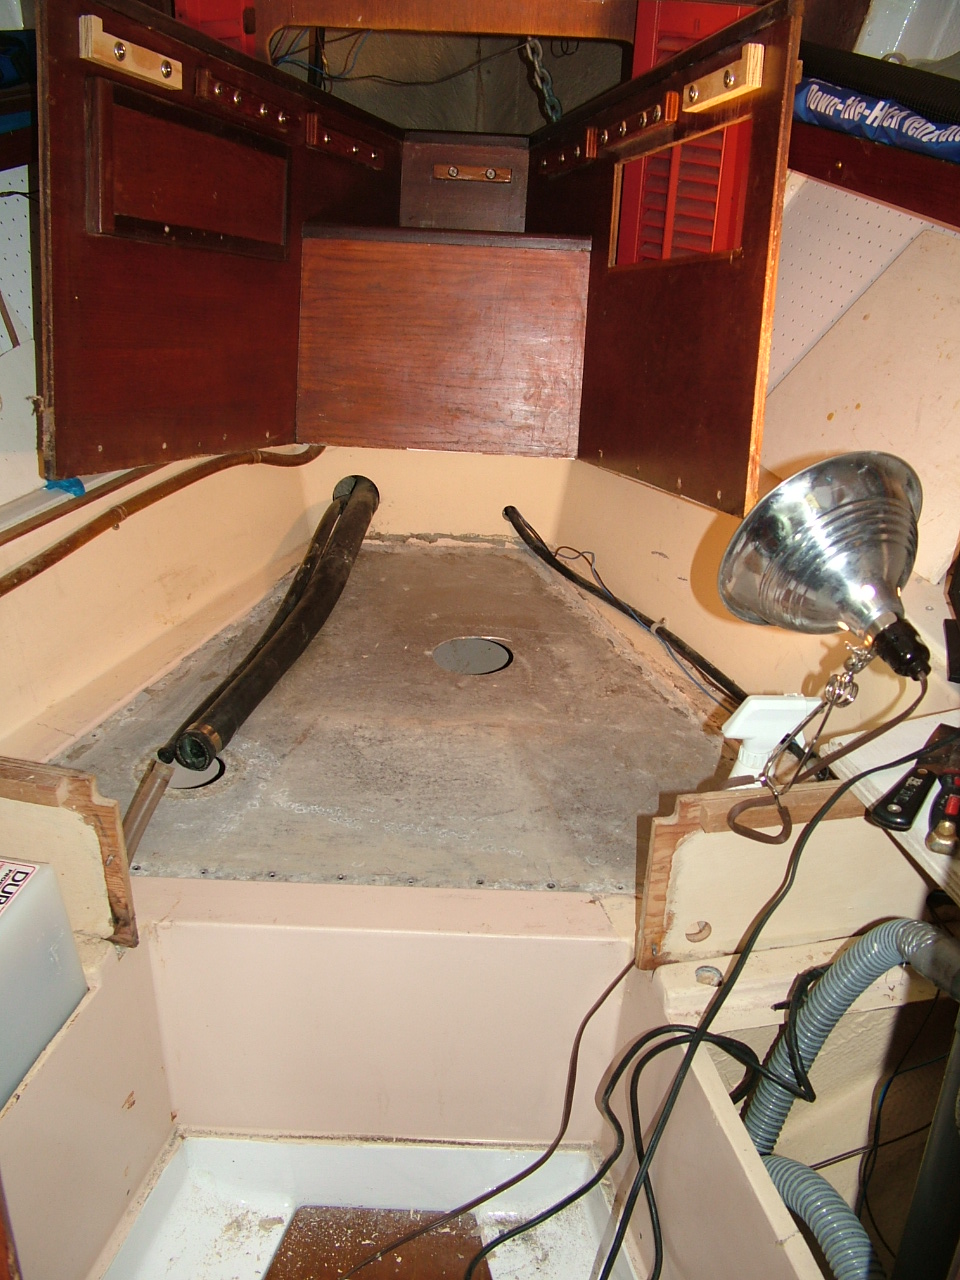
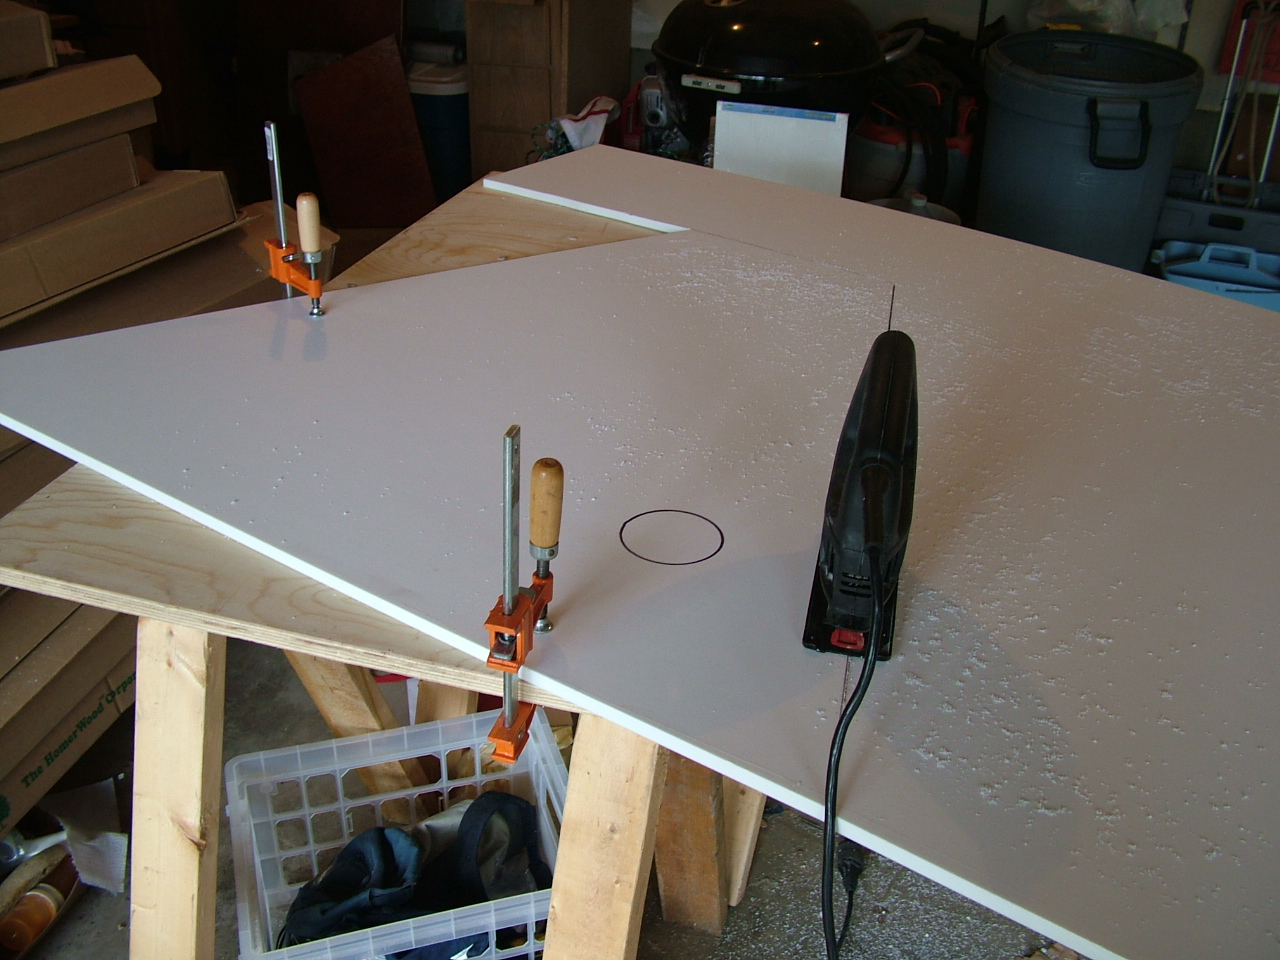
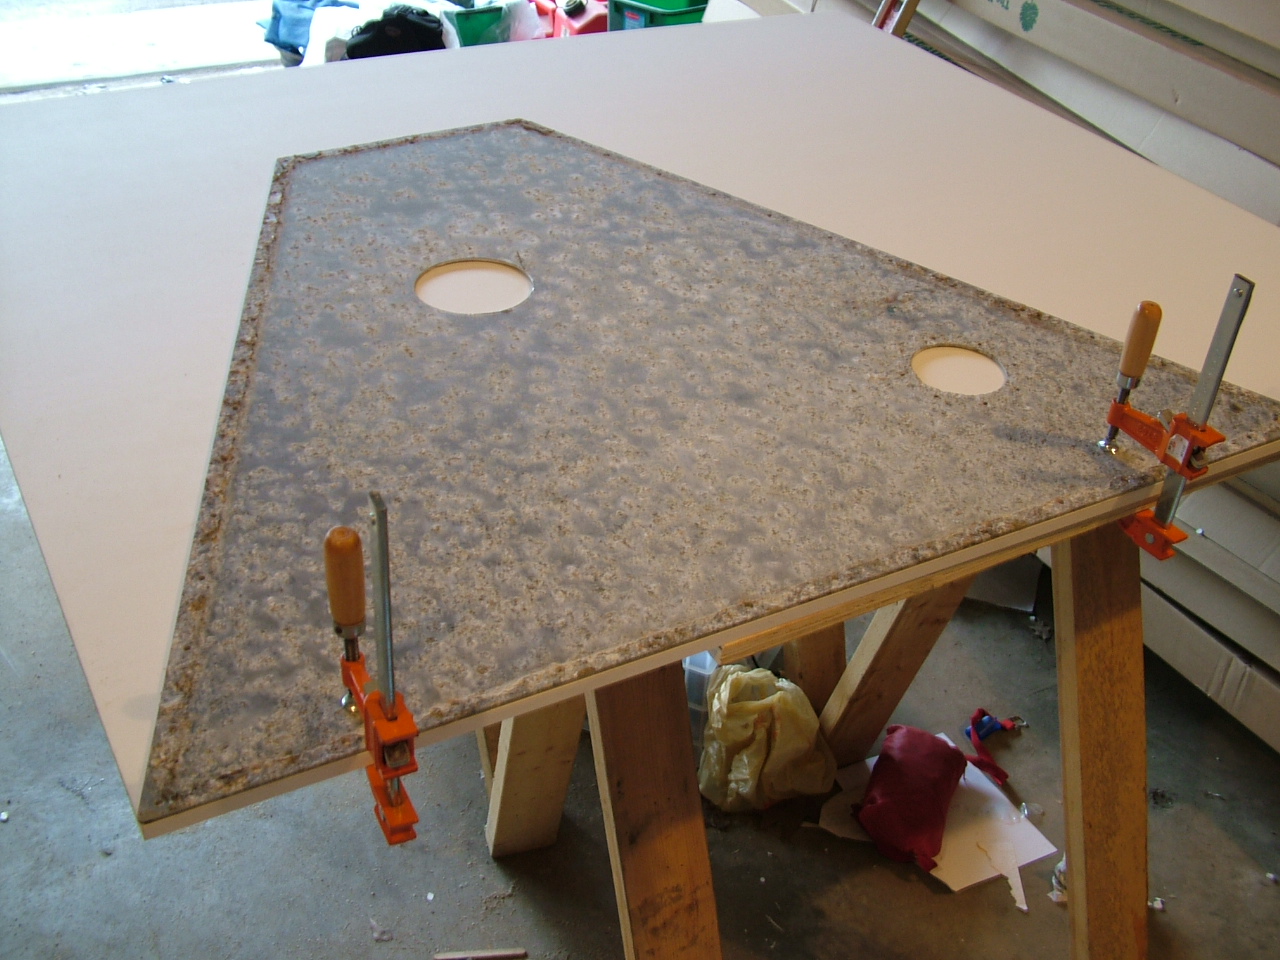
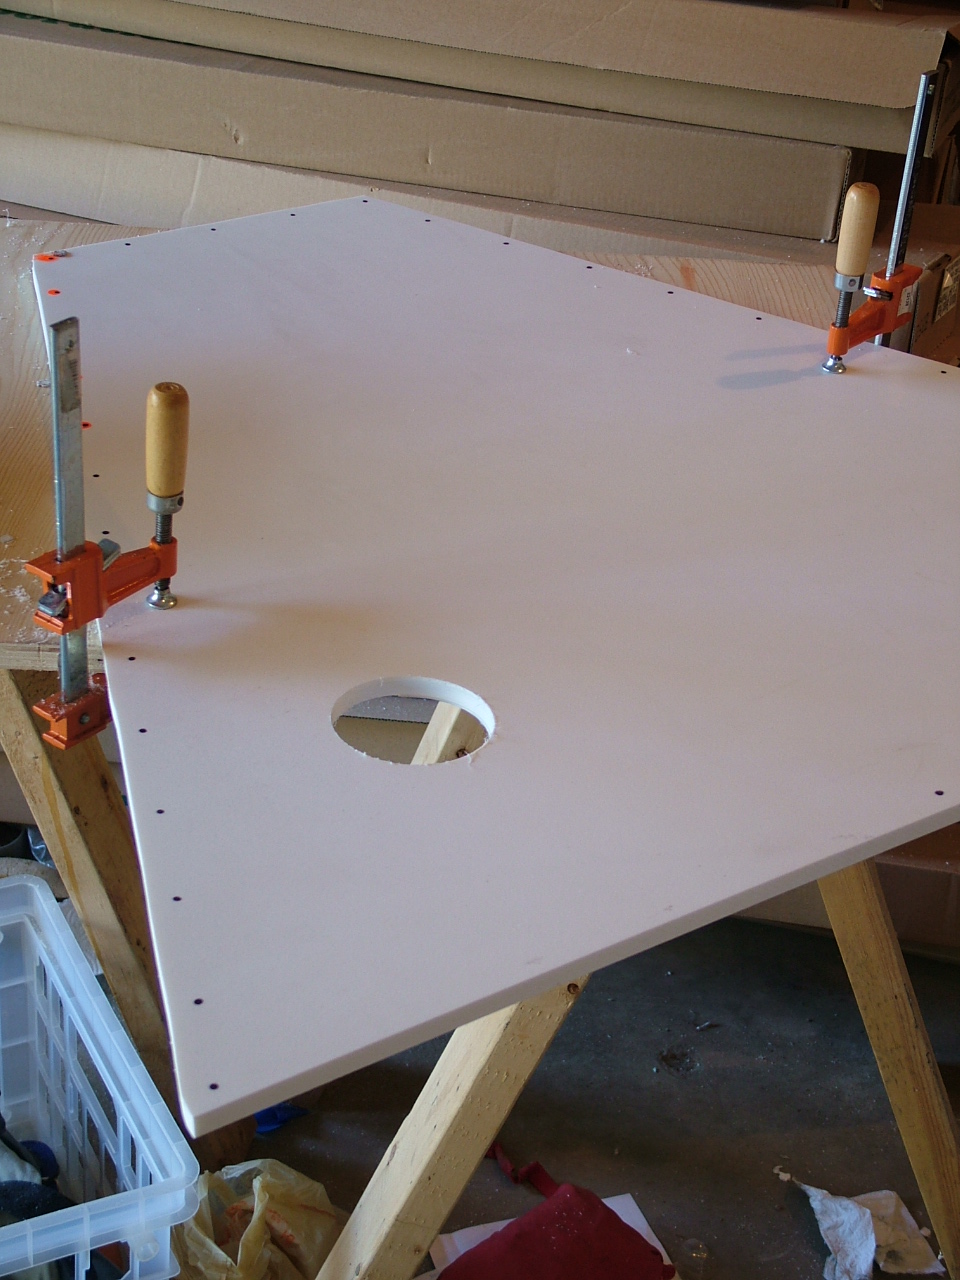
Next, I removed the aluminum top of the water tank and used it as a pattern for creating a new cover made of starboard.

 This was done by clamping the old cover on the starboard, tracing the shape of the cover and the water hole on the starboard and then cutting the new cover out with a jig saw and the opening for the water with a hole saw.

I used the hole pattern on the old cover to drill holes for the new cover.
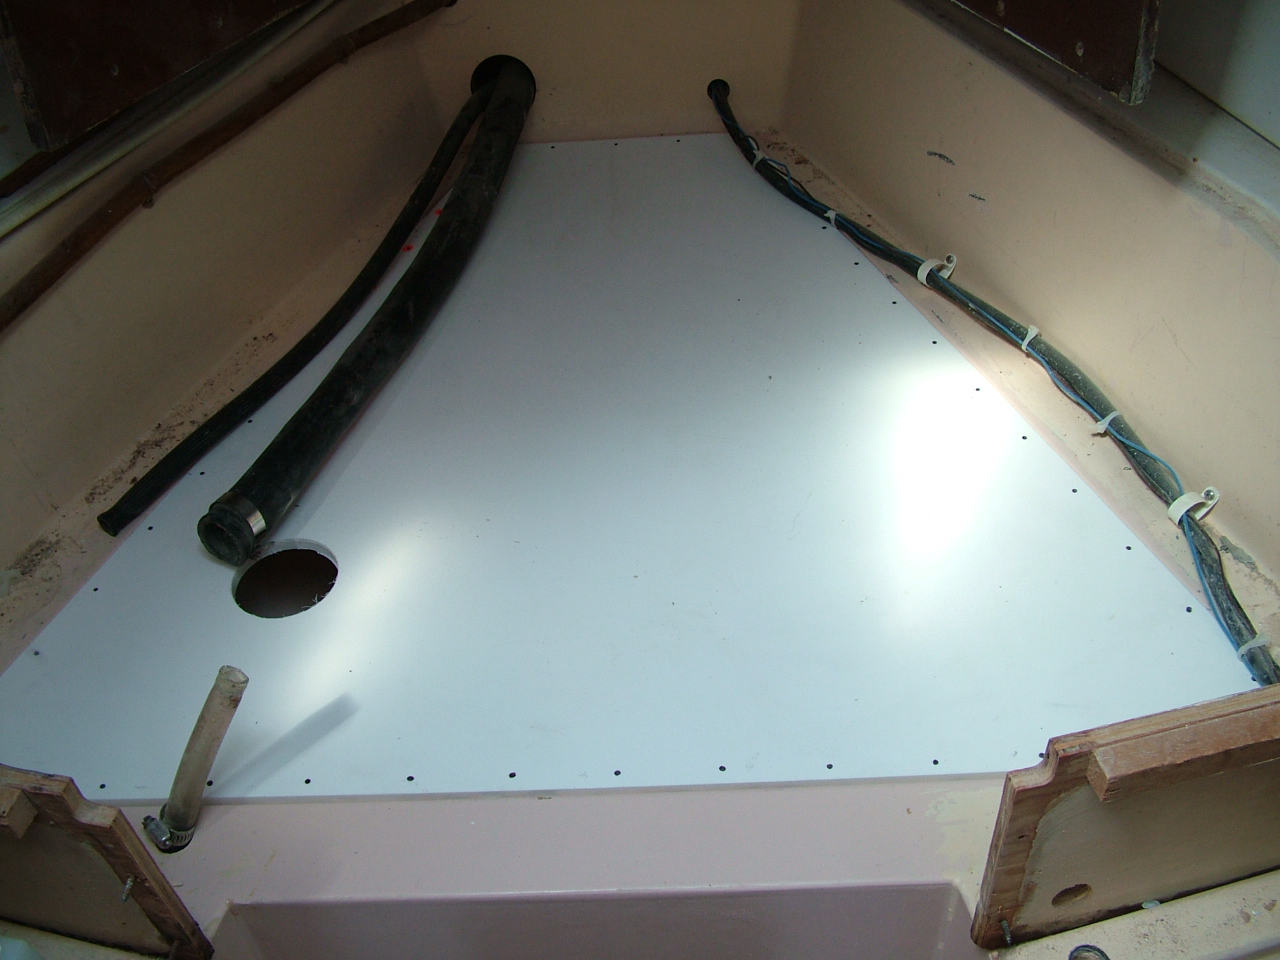
Before I could attach the cover I throughly cleaned the walls of the water tank, and sealed the stress cracks with two coats of epoxy.
I used epoxy because information I found on the internet and our site indicated that chemicals leaching into the water would not likely occur.
In addition, we use the water for washing, not drinking.
 With the cover prepared and the water tank cleaned, I caulked the top edges of the water tank very carefully and attached the tank with self tapping stainless screws.
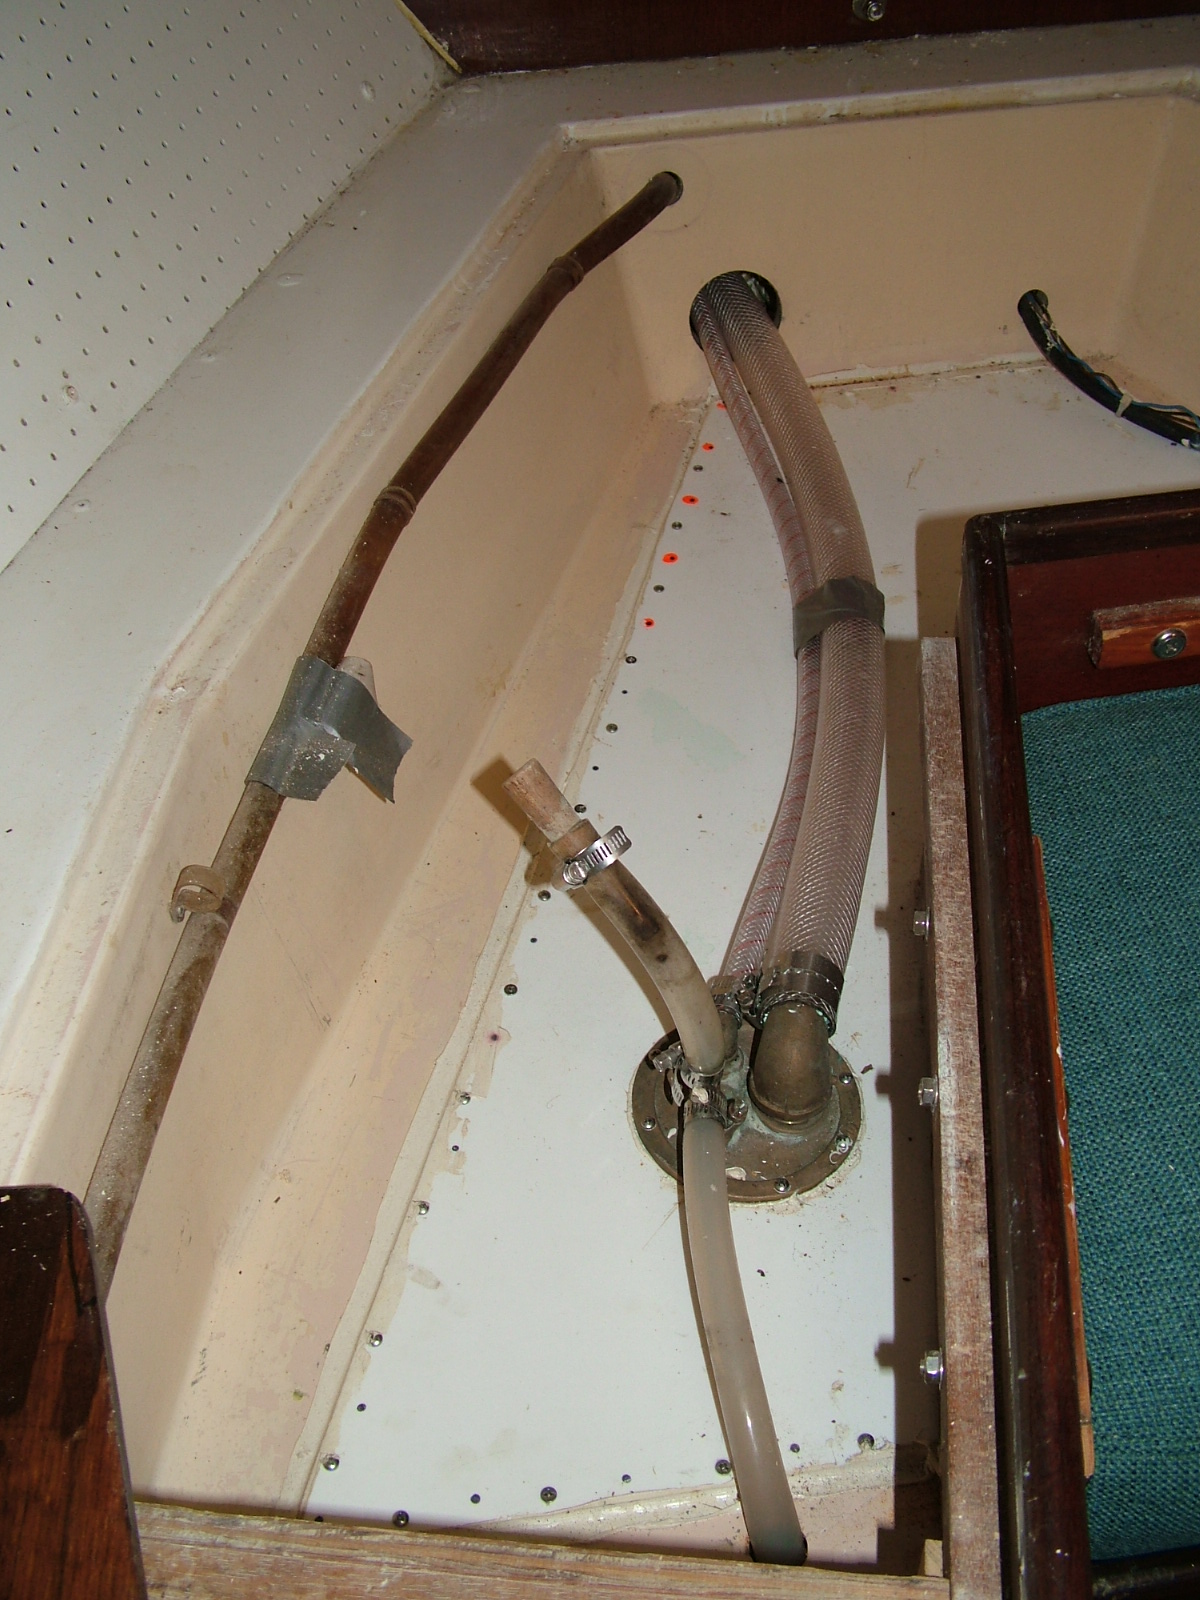
 I reattached water tank hardware and the hose that comes from the deck.
 I renewed the smaller connecting hoses and added an inspection deck plate on the starboard side of the water tank cover.
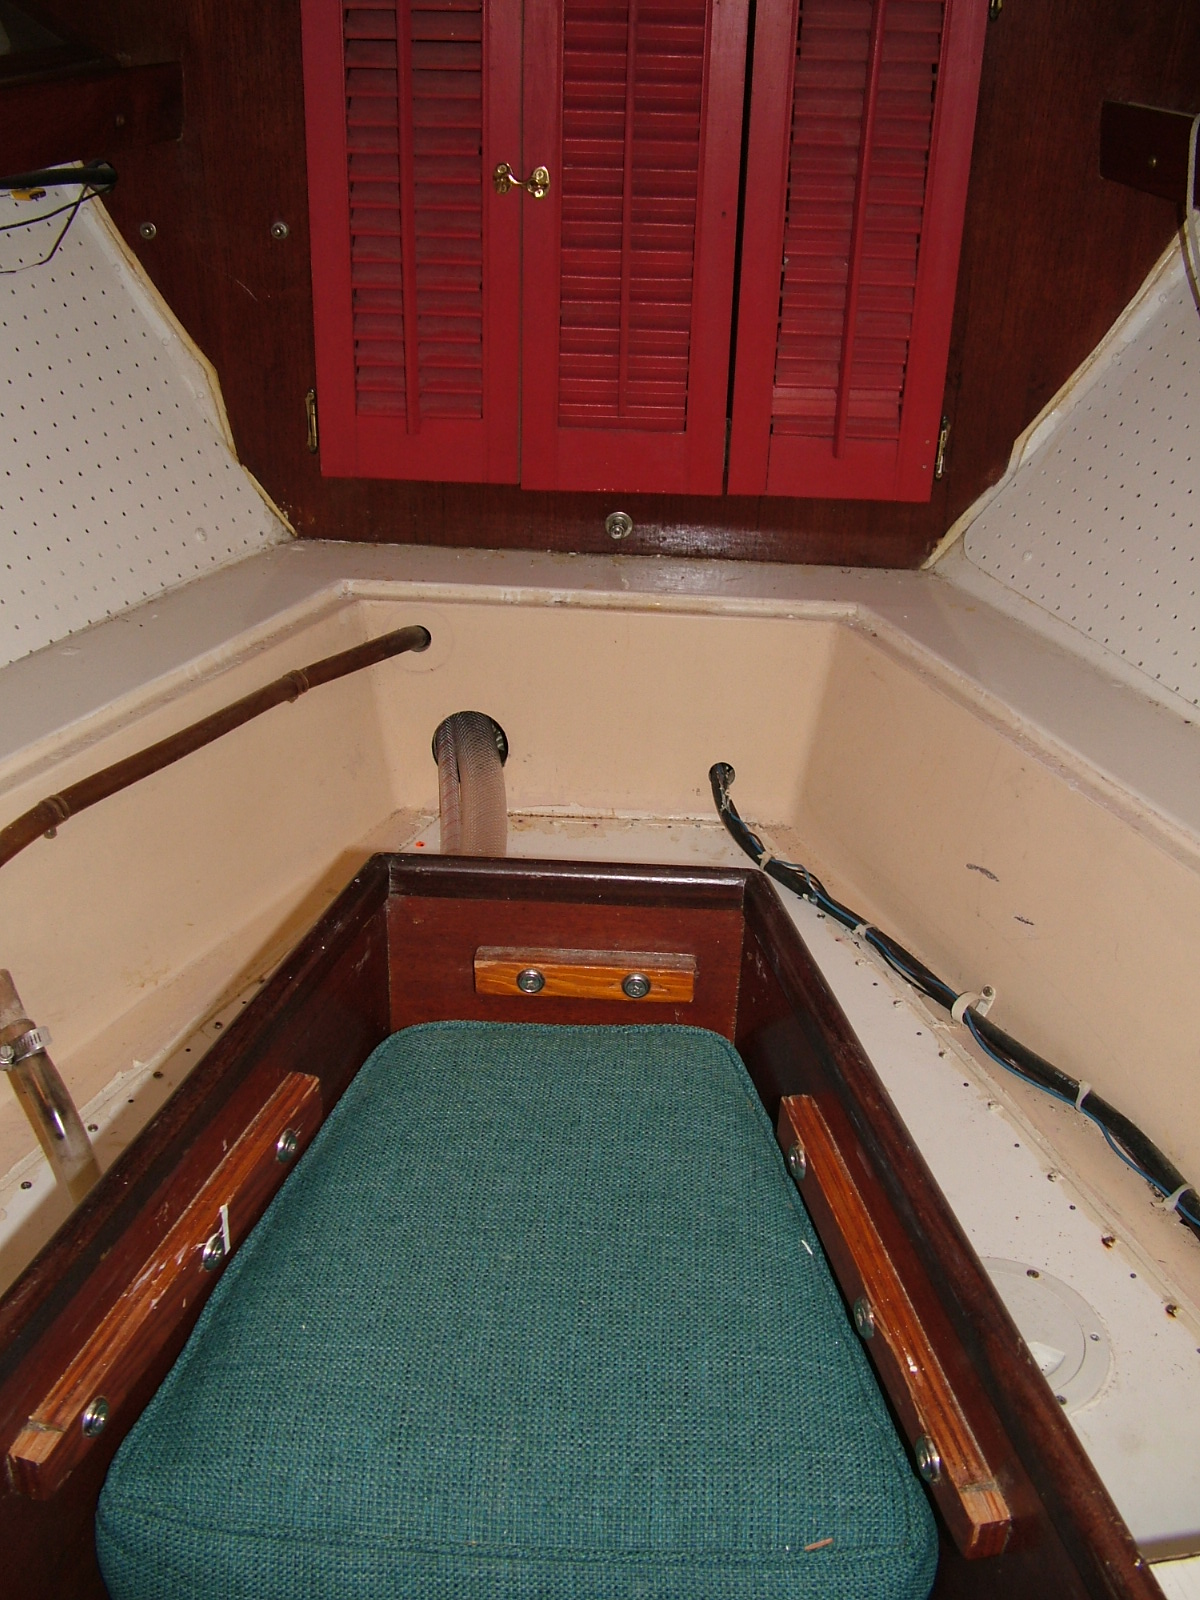
 When I was finished, I reinstalled the wood furniture and replaced the cushions..
Now the tank does not leak and it can be inspected as well.
I found that it was easier to fill the tank via the inspection port than from the deck.
Previously, the tank tended to get over full and fill up the bilge as well.
Now I fill the tank to just about full and no longer have this problem.
The project took time but was not difficult.
It was within my skills set and mostly required some thinking and a fair amount of persistence.
Dave Terrell, Scholarship II, #432
Note: Dave sent more photos than are used to illustrate the article above. These alternate views might be useful for seeing details more clearly.
|
Offshore Sailing
by Bill Seifert with Daniel Spurr
We went to a Windjammers lecture to hear Bill Seifert and I was impressed enough to buy
the book on the spot. I've heard a lot of people talk about ways to improve a boat, but
I've never heard one person suggest so many good ideas that I hadn't considered. Part
of the charm is the specificity of the suggestions. Everyone says you should secure your
floorboards, hatchboards and batteries. Bill shows good suggestions on how to do so.
The suggestions are very practical for the do-it-yourselfer, too. Many show how to
make or adapt inexpensive solutions. Tip #12 on closing the deck blower vents is one
that will pay off for me without ever going offshore. I'll implement that one to
stop the wintertime storms from finding their way belowdecks.
Besides modifications, the book also includes advice for operating offshore, cooking,
boat selection, dealing with bureaucracy, and more.
Bill Seifert has worked at Tartan, TPI, and Alden Yachts. He's a veteran of many
Marion-Bermuda races and now runs his own yacht management company. His tips are
born of experience--not of book-learning--and it shows. He obviously knows his
stuff.
(Note: commissions earned from this link help defray the costs of this website)
|
|